
My grandfather left me a coffee can of wheat pennies and old nickels when I was 12 years old. I kept them in that can for the next three decades. Every time I wanted to look at one coin, I had to pour the whole thing onto the kitchen table, sort it back into a pile, and hope I did not lose the 1909 VDB in the process. The coins survived. The system did not.
That is the part most people skip. Dropping a coin into a cardboard 2x2 flip takes about four seconds. Writing a label that still makes sense to you in ten years takes longer, and that labeling is the real work. I keep US coins, mostly Lincoln cents, Jefferson nickels, Washington quarters and a modest run of Morgan and Peace silver dollars, in a spare bedroom I call the coin room. These days they live in Favourde's 300 piece cardboard flip assortment, which comes in six sizes with fifty flips per size. The flips are the easy half. Here is how I fill and label them so the collection stays usable.
Six sizes, fifty flips each, one box instead of five reorders
Favourde's assortment covers the common US denominations in one box, so you are not stuck with three hundred flips in a size you have already filled.
Amazon Check Today's Price on Amazon →What You Need Before You Sit Down
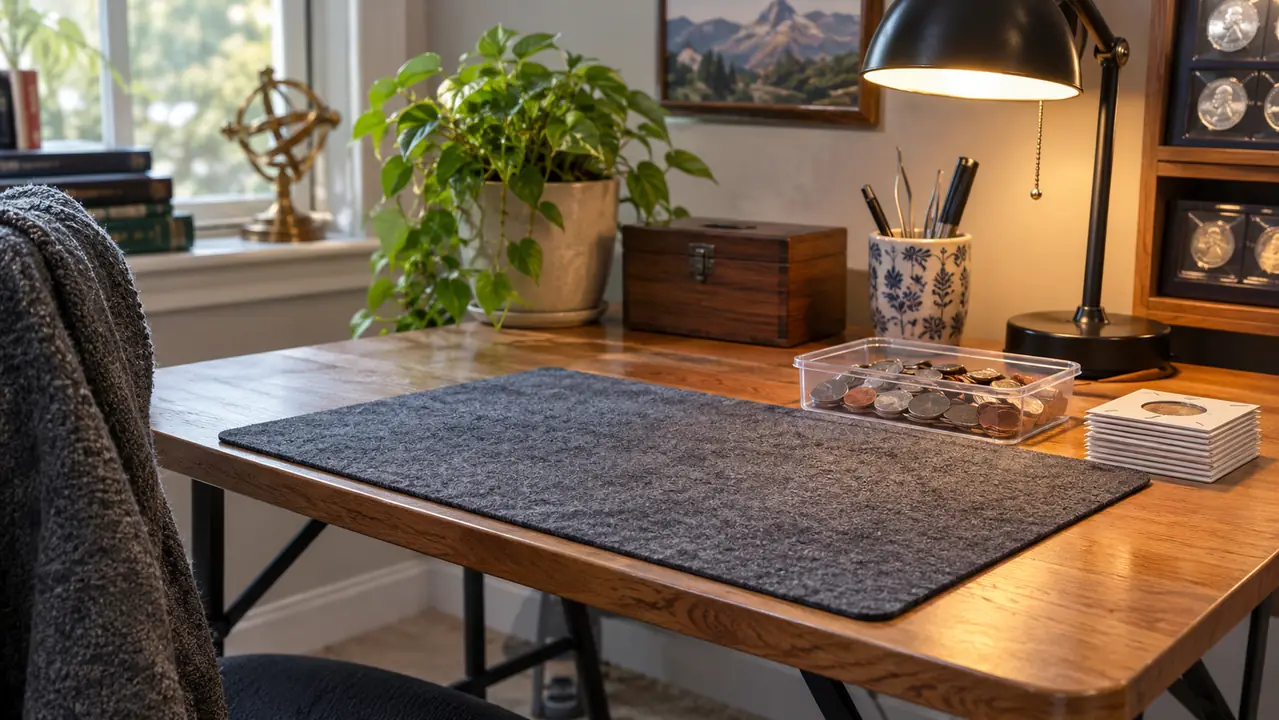
You do not need much, but you need it within reach before the first coin comes out of the tray. A felt pad to work on. A pencil, not a pen. A small tray so a coin never rolls off the desk and onto the floor, which is how rim dings happen. Cotton or nitrile gloves if you are handling anything uncirculated. The flips themselves, sorted by size. And a notebook or an index card file, because step four is where the whole thing either works or does not.
Step 1: Match the Flip Size to the Coin Before Anything Else
The Favourde set runs six sizes at fifty flips each. Two of them are a penny and dime size and a nickel size, and the rest cover the other popular denominations. The mistake is grabbing whatever flip is on top and working the coin in. A flip that is too large lets the coin slide every time you lift it, and sliding is what wears a surface. A flip that is too small means the coin does not sit flat, and forcing it is worse than a loose fit.
Lay the coin on the flip and look at the gap. There should be almost none. The coin should drop into place and stay there when you turn the flip over on your palm. When I am not sure of a size, I test with a circulated wheat cent that carries no premium, not with the coin I actually care about.
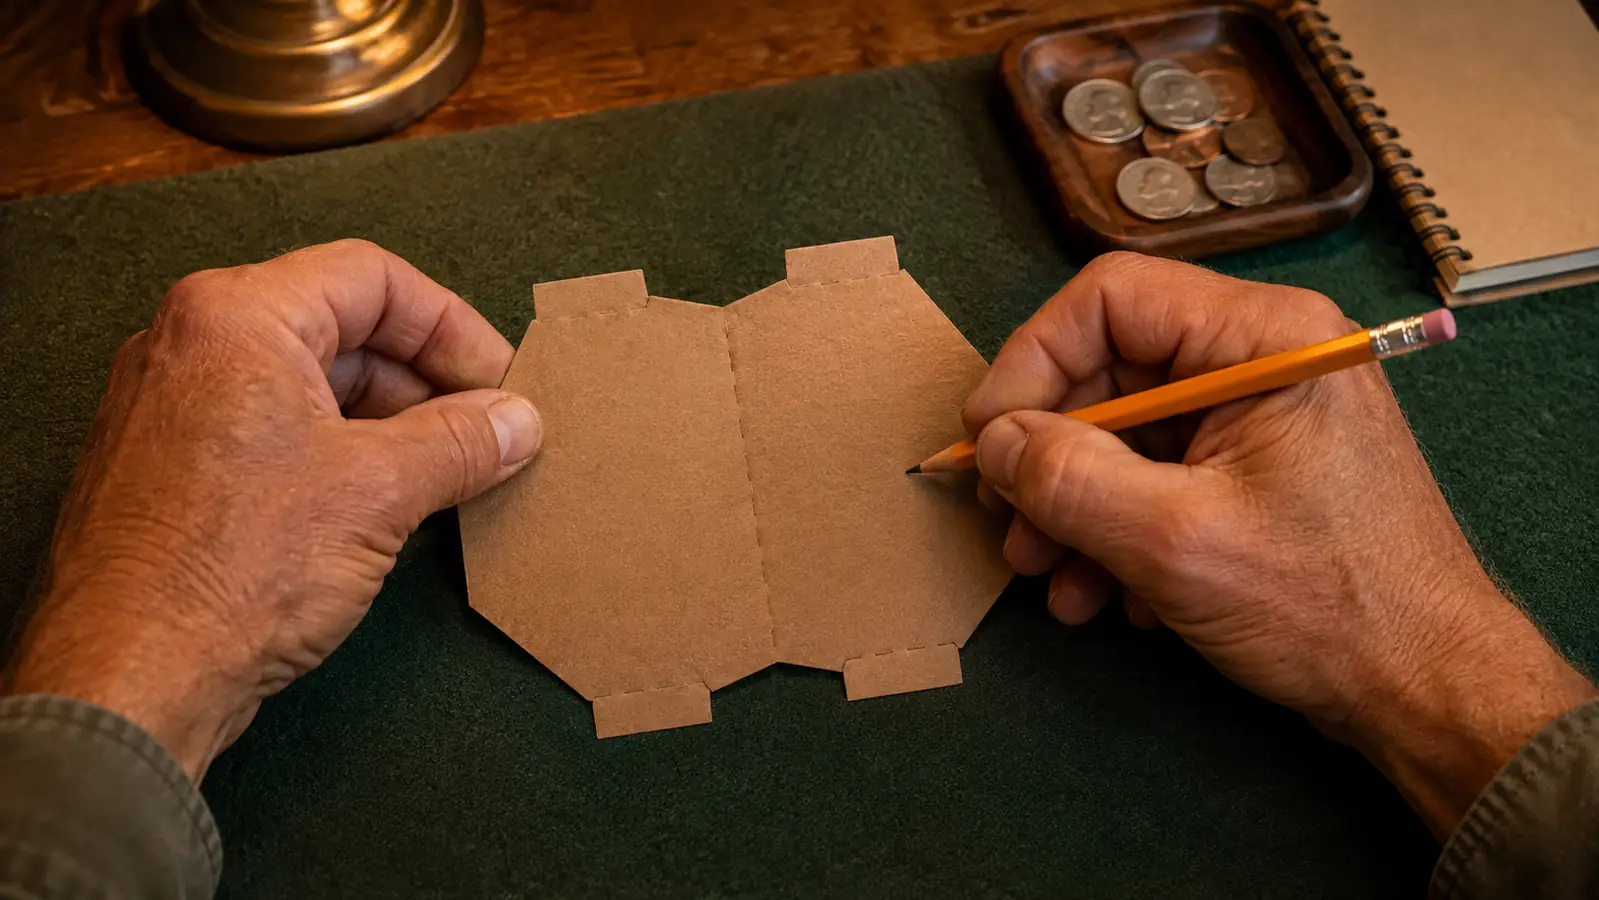
A finished flip measures about 1.97 by 1.97 inches, and the flat cardboard before folding is about 3.94 by 1.97 inches. That number matters in step five, because it tells you what size storage box you are shopping for. Nothing about a flip is precious. It is cardboard with a job: hold the coin still. The right size does that and the wrong size does not.
Step 2: Write the Label Before the Coin Goes In
Write on the flat cardboard while the flip is still empty and open. You are writing on a hard surface instead of on a lump, so the pencil does not skate, and you cannot press down on a coin that is not in there yet.
The front of the flip gets denomination, date and mint mark. If the mint mark is worn away, write 'no mark' so future you does not spend an evening squinting at a 1916 penny wondering whether one was ever there. If you grade your own coins, put your grade in the corner and put the date you assigned it. Grading opinions move, and a flip that says XF with no date on it will have you arguing with yourself in five years.
Use a pencil. Pen ink sits on top of cardboard and smears as boxes slide in and out of a shelf. Pencil works into the paper and stays legible. I have flips from nine years ago written with a mechanical pencil that read as clean as the day I filled them.
Step 3: Seat the Coin by the Edges and Close the Flip Flat
Cotton gloves for anything uncirculated. Bare fingers on the rim for circulated coins. Never a thumb on the face. Skin oil is not dramatic, it is slow, and it shows up years later as a dull patch that will not come off without dipping the coin. Dipping is a separate conversation and not one you want to have because you were in a hurry.
Once the coin is seated, fold the top half down and press the edges flat, working from the fold outward so you push air out instead of trapping it. I keep a plastic straightedge on the desk for the pressing. Do not tape the edges. Tape yellows, dries out, and leaves a residue on the cardboard that gets on your fingers and then on a coin.
Then test it. Turn the flip over in your hand. If you hear the coin move, the size is wrong and you should start over with a different flip. A correctly sized flip is silent.
Step 4: Number Every Flip So the Box Index Actually Works
This is the step that separates a collection from a pile. Every flip gets a number, and that number goes into a notebook with a one line description. Mine look like B3-014: box 3, flip 14. Each box carries a card saying which range of numbers lives in it, and the notebook says what B3-014 actually is, which in my case is a 1909 Lincoln cent, no VDB, no mint mark, my grade VF.
Two rules. The number goes in the same corner of every flip, so you can fan a box and read twenty numbers at once. And the notebook entry gets written the same day. A flip with a number and no entry is a dead end, and an entry with no flip is worse, because you will spend an hour hunting a coin that is sitting in the wrong box.
My grandson Tyler is ten and sorts pocket change with me on Sunday afternoons. He is better at this than I am. He caught a run of nickels where I had written 1946 twice and skipped 1947 completely. That is what the numbering is for. Not posterity. Catching your own mistakes while they are still cheap to fix.
Step 5: Store the Filled Flips So They Stay Flat and Findable
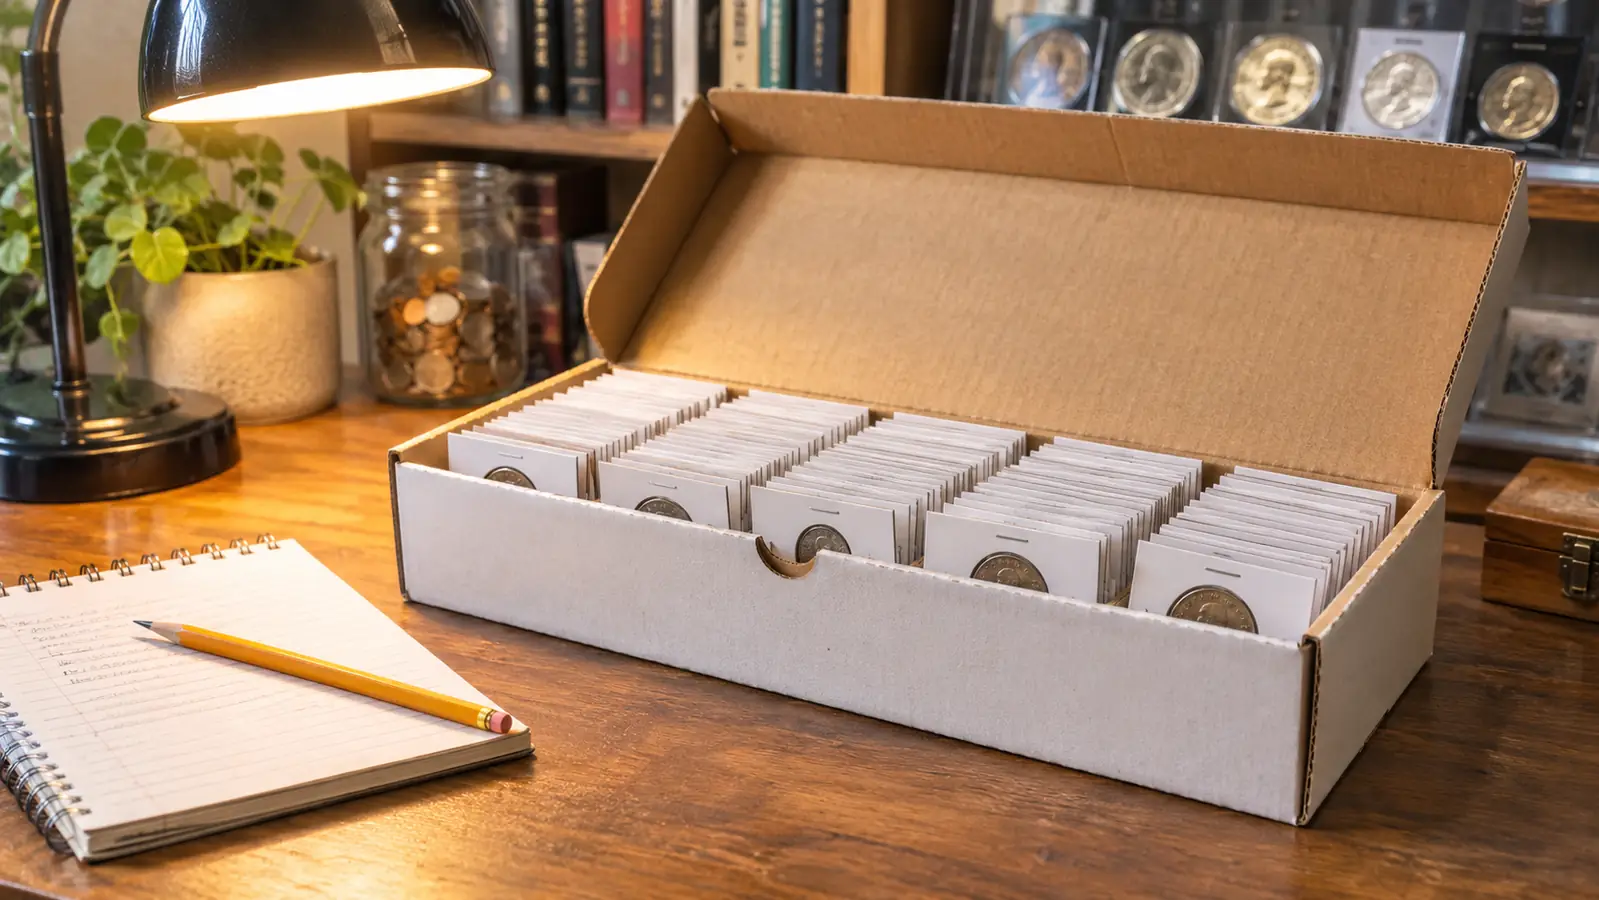
Filled flips go into a box sized for 2x2 holders, standing on edge in rows like files. Not stacked flat in a shoebox. Stacked flat, the bottom flips carry the weight of everything above them and the coins press into the cardboard. Standing on edge, every flip carries its own coin and nothing else.
Keep the boxes in a room you actually use, off the floor, away from the water heater and away from the outside wall of a garage. Toledo summers are humid, and my coin room runs a dehumidifier from June through September. Cardboard is paper, and paper takes on moisture and holds it longer than you would guess.
No rubber bands around a stack of flips. The band leaves a line across the cardboard inside a year, and an old band leaves a sticky stripe. If you need to group flips together, put them in a smaller box or use a labeled divider. Leave some air in each box as well. A box packed tight enough that you have to shake a flip loose is going to bend corners.
A flip that rattles when you turn it over is a flip that is the wrong size. That is the whole test, and it takes one second.
What Else Helps
Keep a short pencil in the box instead of on the desk. Half the flips I ruined early on were ruined because I had a coin in one hand, a flip in the other, and nothing to write with, so I set the coin down loose and came back to it later.
Sort the six sizes into their own compartments before you start filling, with a slip of paper in each one. Digging for the nickel size through a pile of penny flips is a small annoyance that adds up across three hundred pieces, and when a size runs low you want to know which one.
For anything uncirculated, or anything I plan to hand down, I still use a rigid plastic capsule. Cardboard is right for circulated coins and it is what most of my collection lives in. A capsule is rigid, it seals, and it does not depend on how well I folded a piece of paper on a Tuesday night. I compared the two at length, and my short version is this: cardboard for volume and handling, capsules for the handful of coins you do not want to touch twice.
One more thing. Do not write on a flip that already has a coin in it. Even with a felt pad underneath, the pencil pressure goes straight through the cardboard and onto the surface you are trying to protect. If you have to add a note later, slide the coin out first, write, and put it back.
Photograph the open box once a year with your phone. One of my boxes went missing during a move in 2019, and the photo was the only record I had of what had been in it.
How Long This Actually Takes
Three hundred flips does not mean three hundred coins in one evening. My first session with the Favourde box was about forty coins, and it took ninety minutes, most of it spent deciding what the label should say. Once the format was settled, circulated material ran about a minute a coin. Anything I had to grade took longer.
Work in batches by denomination. All the cents one evening, the nickels the next. You pull out one size of flip, you think about one set of date ranges, and you make fewer transcription errors because your head is in one groove instead of five.
Fill the box in number order, not in the order you happen to pick coins up. Numbering as you go keeps the notebook and the box in step, and you never have to renumber a whole run because you found a better place for it a month later.
Where People Go Wrong
The common failure is not a bad flip. It is a good flip with nothing written on it. I have bought two collections stored exactly that way, and both times I lost a weekend identifying coins the previous owner could have identified in ten seconds on the day he filed them.
The second failure is writing a grade in pen and no date. Grades move. A coin you called XF in 2016 might look AU to you now, and if the flip does not say when the note went on, you cannot tell whether your eye improved or the note is simply old.
The third is a three ring binder of flips sitting on a shelf next to a window. Light fades the cardboard and does nothing good for copper. Boxes belong in a drawer, a cabinet, or the inside of a closet.
Label them once, then find them for the next twenty years
Three hundred cardboard flips, six sizes, fifty of each. Enough to get a whole box of mixed coins filed, labeled and numbered this month.
Amazon Check Today's Price on Amazon →